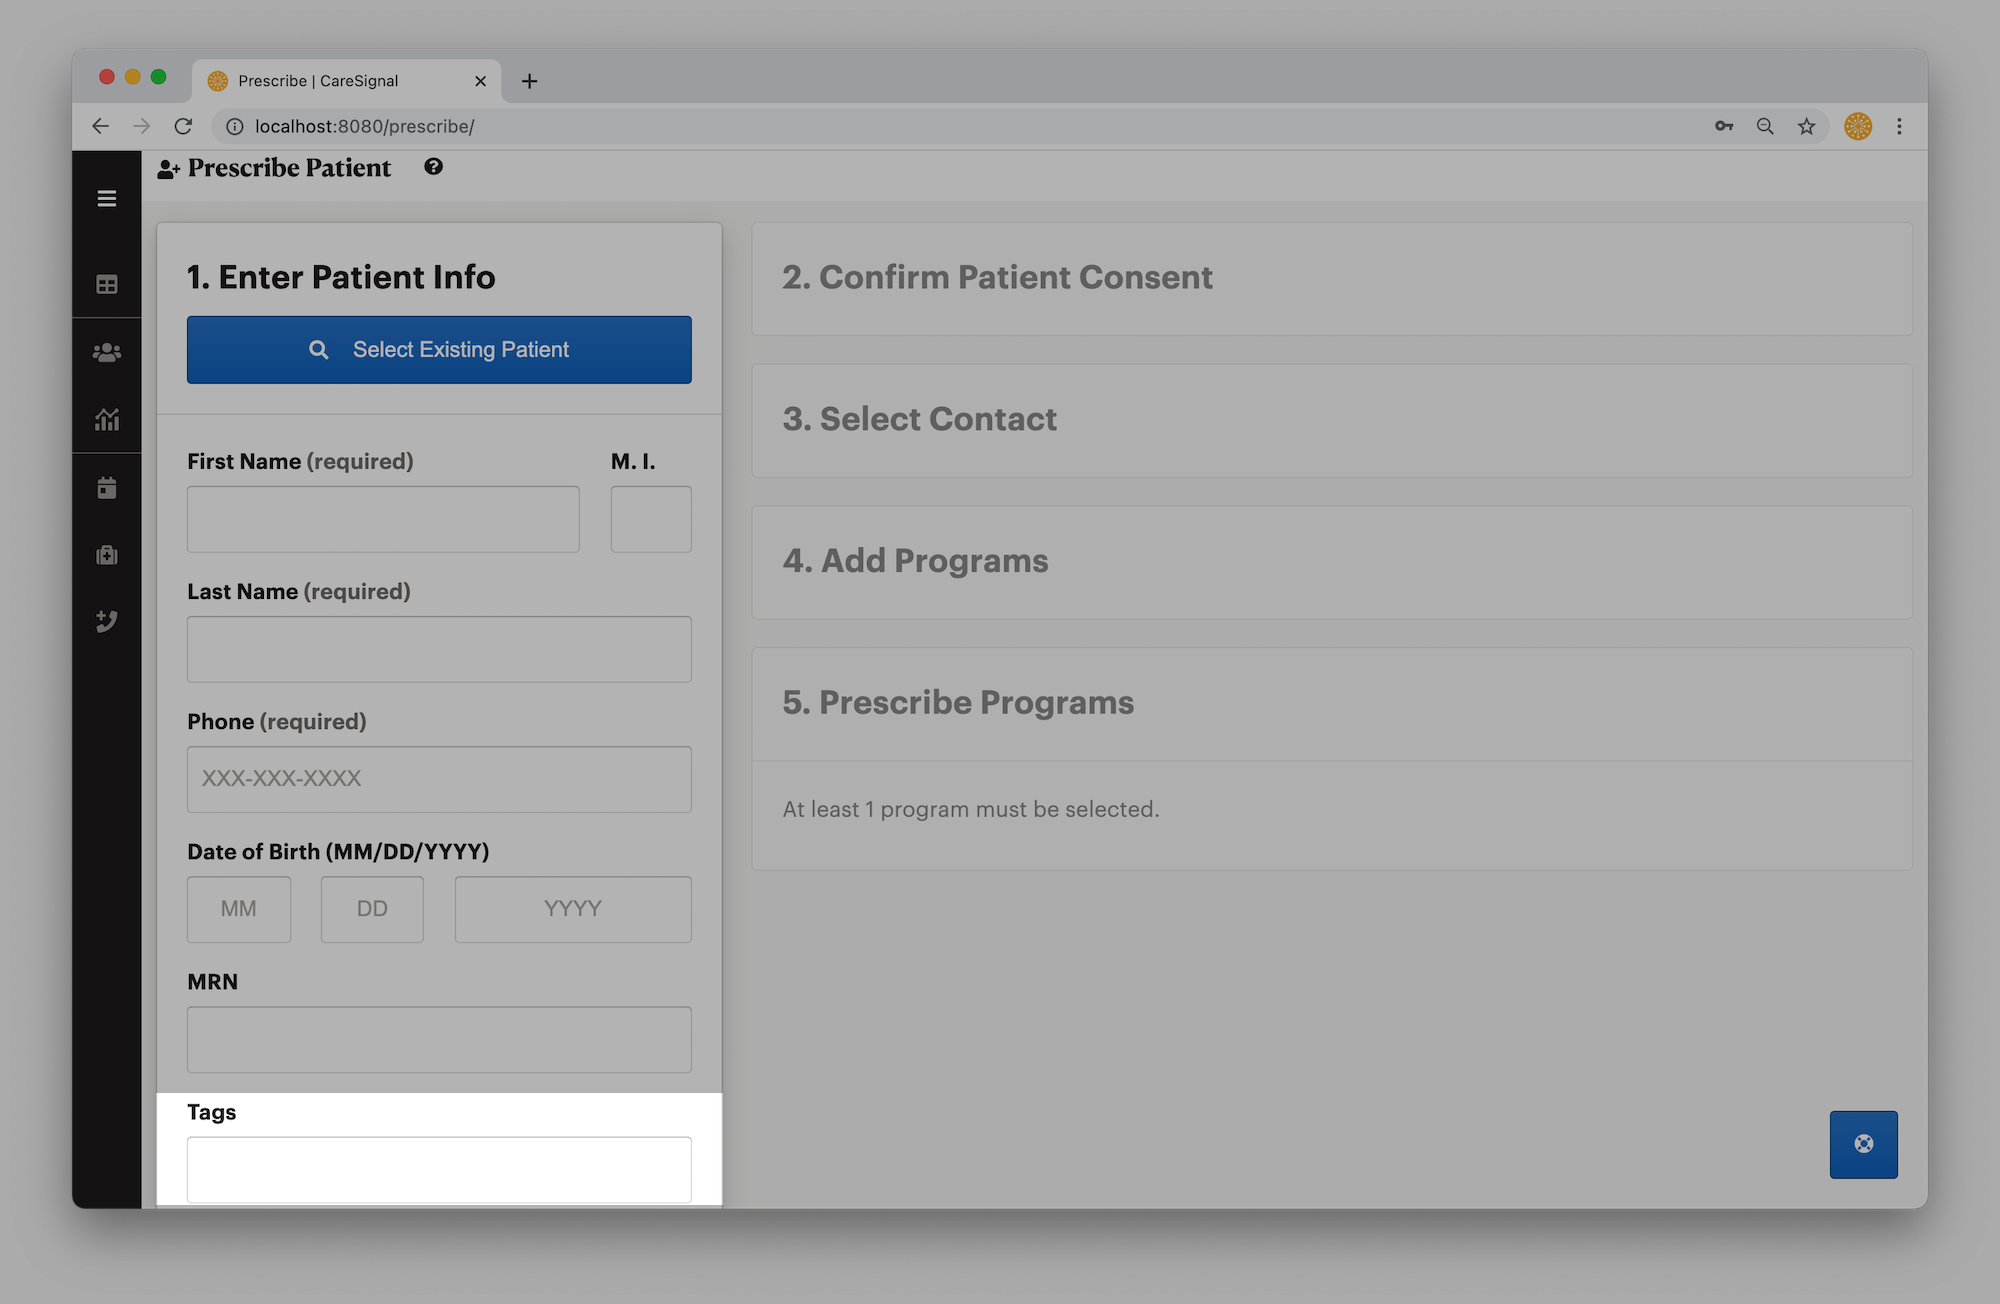
Tags allow users to easily organize patients around your organization's workflow. A tag could be anything that helps you filter your patients such as: "Afternoon Calls Only", "Blue Cross Blue Shield", "Rural", etc.
Why It’s Important
Tagging patients will help your team stay organized. Tags can be used in patient views to filter patients.
How to Access
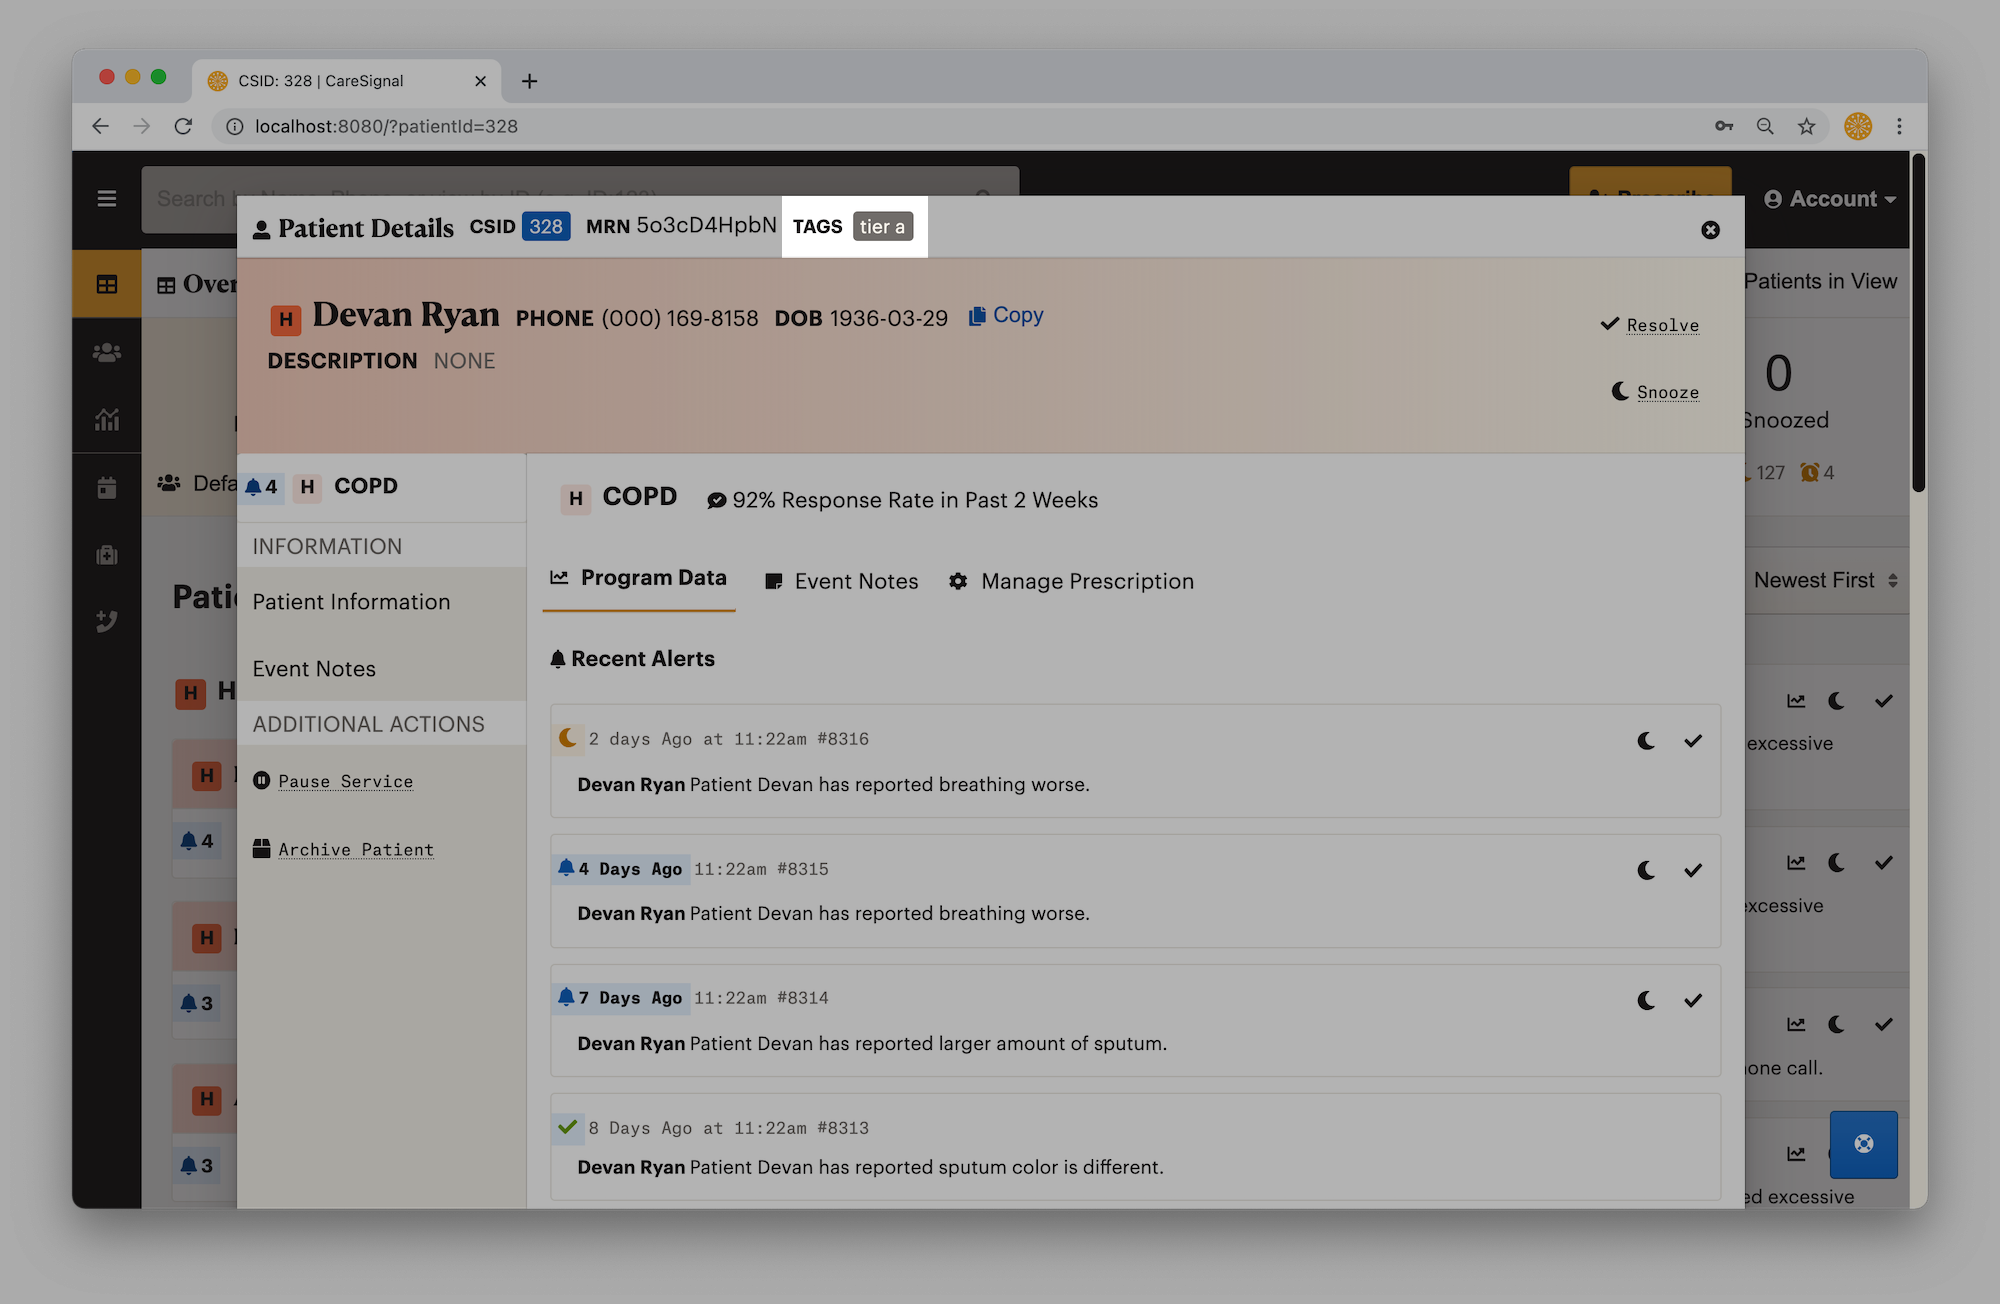
Patient tags can be accessed on a patient’s details page in the header
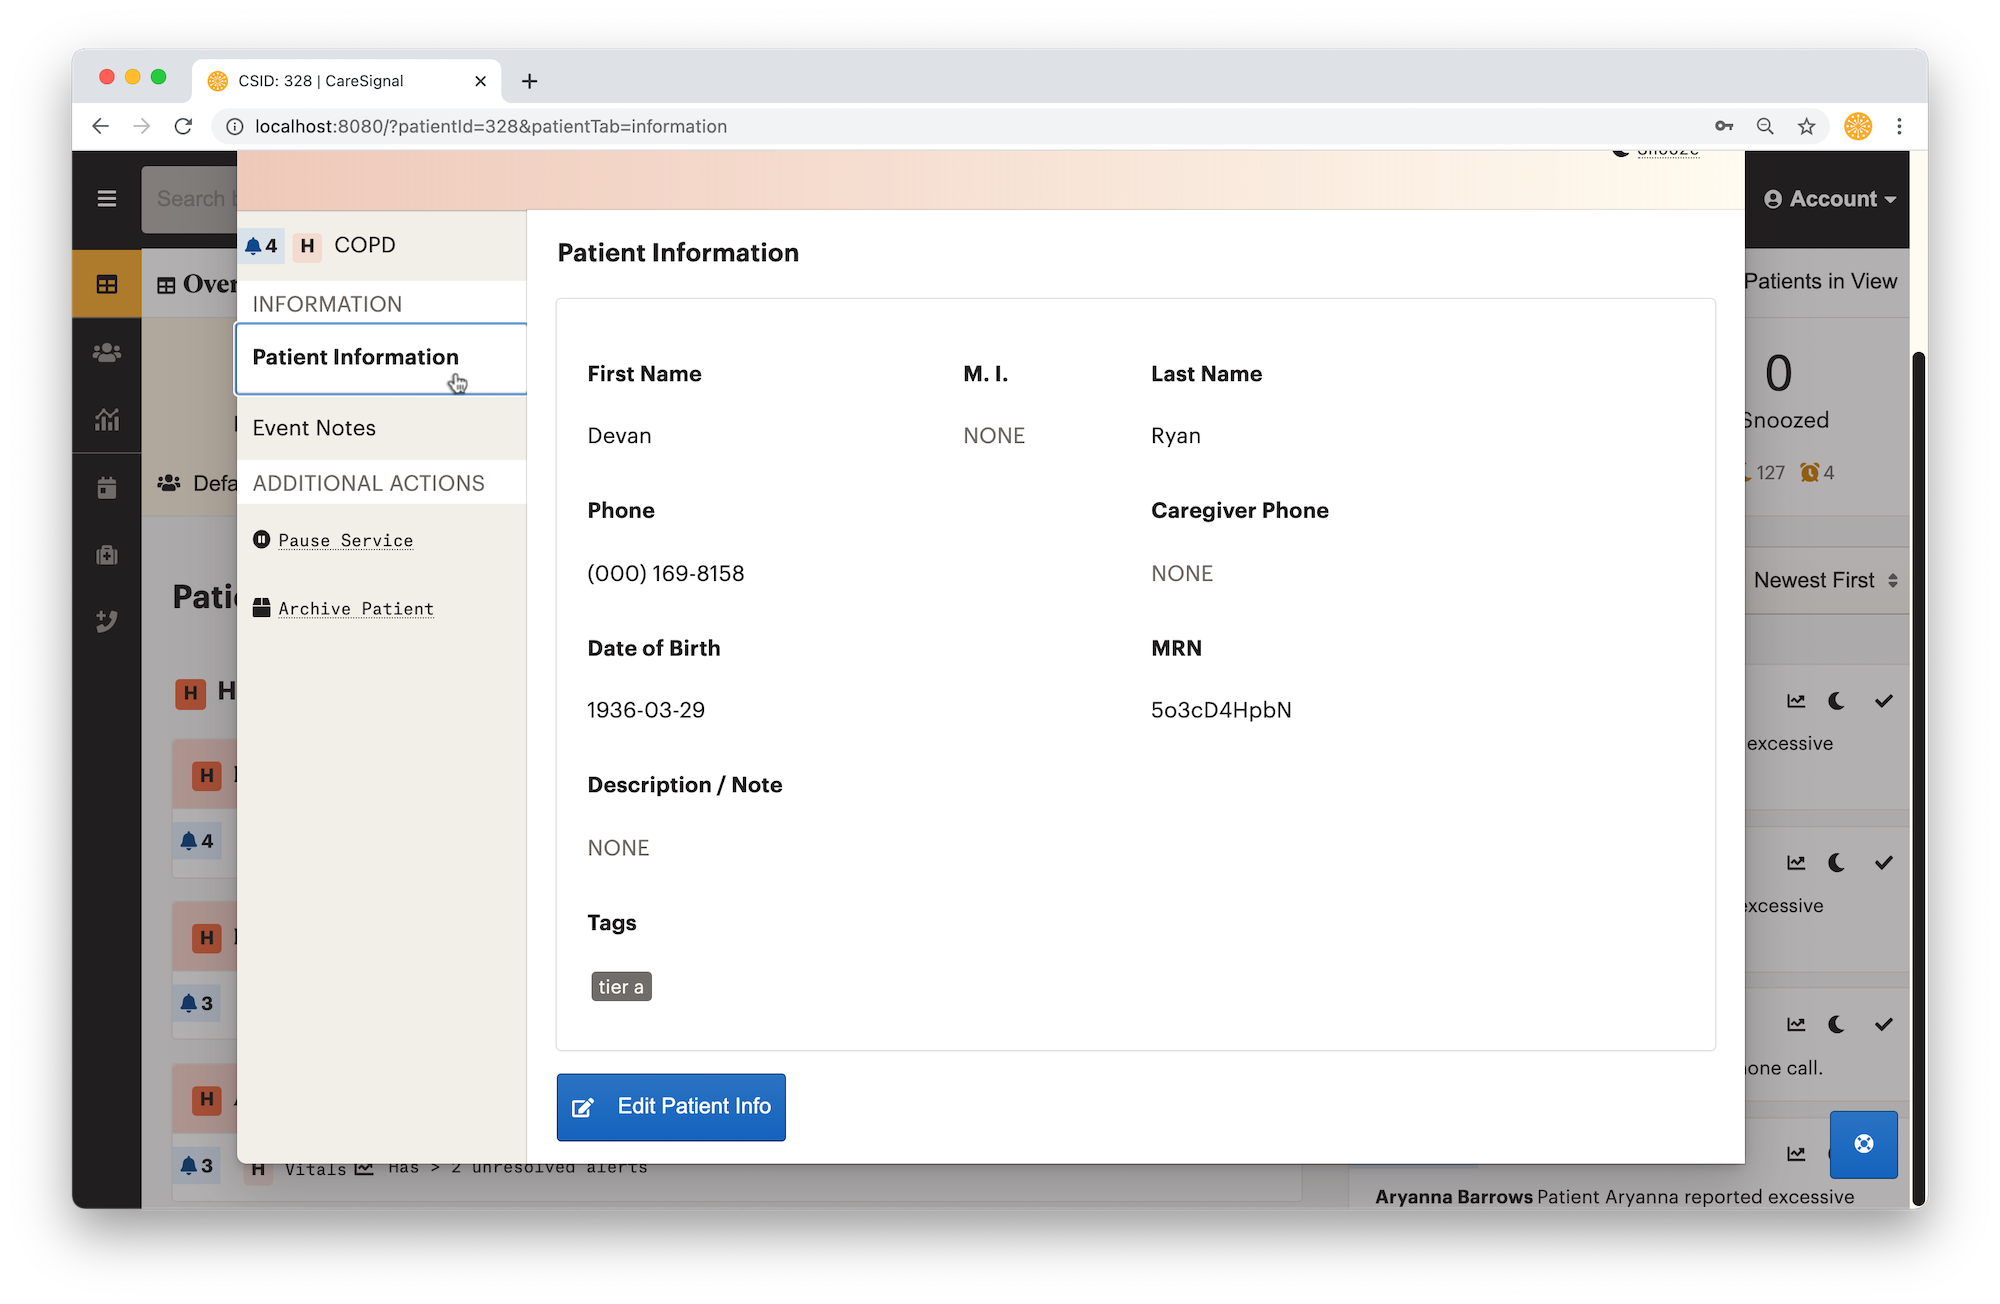
And in the Patient Information section
How to Use
For Existing Patients
To add a tag to an existing patient, locate the patient's details page via the dashboard or through a search
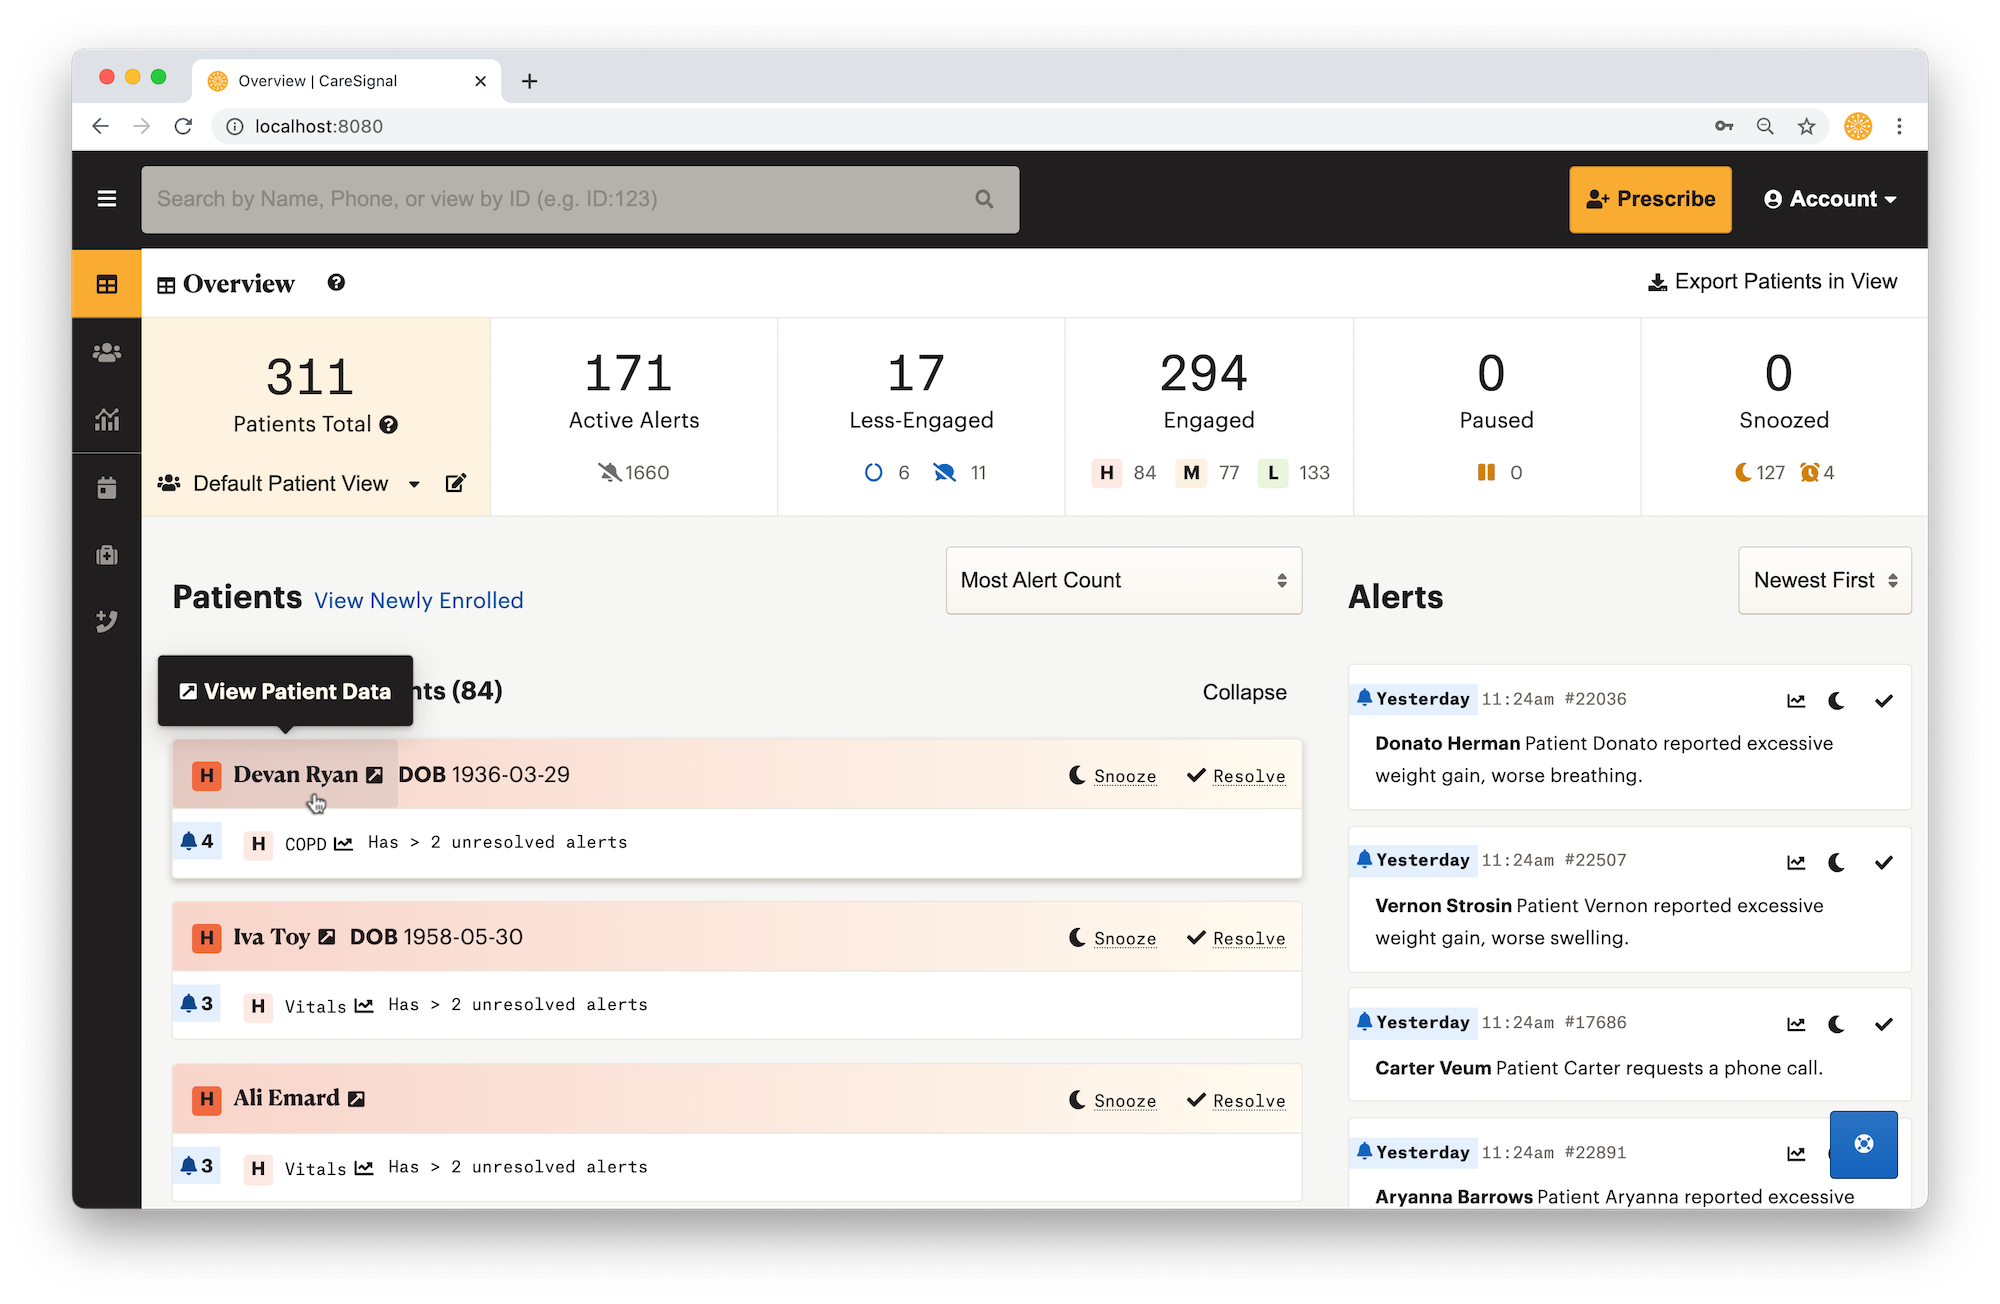
To add or remove tags, click on "Patient Information" in the left hand menu
At the bottom of the form click the “Edit Patient Info” button to open up the edit interface
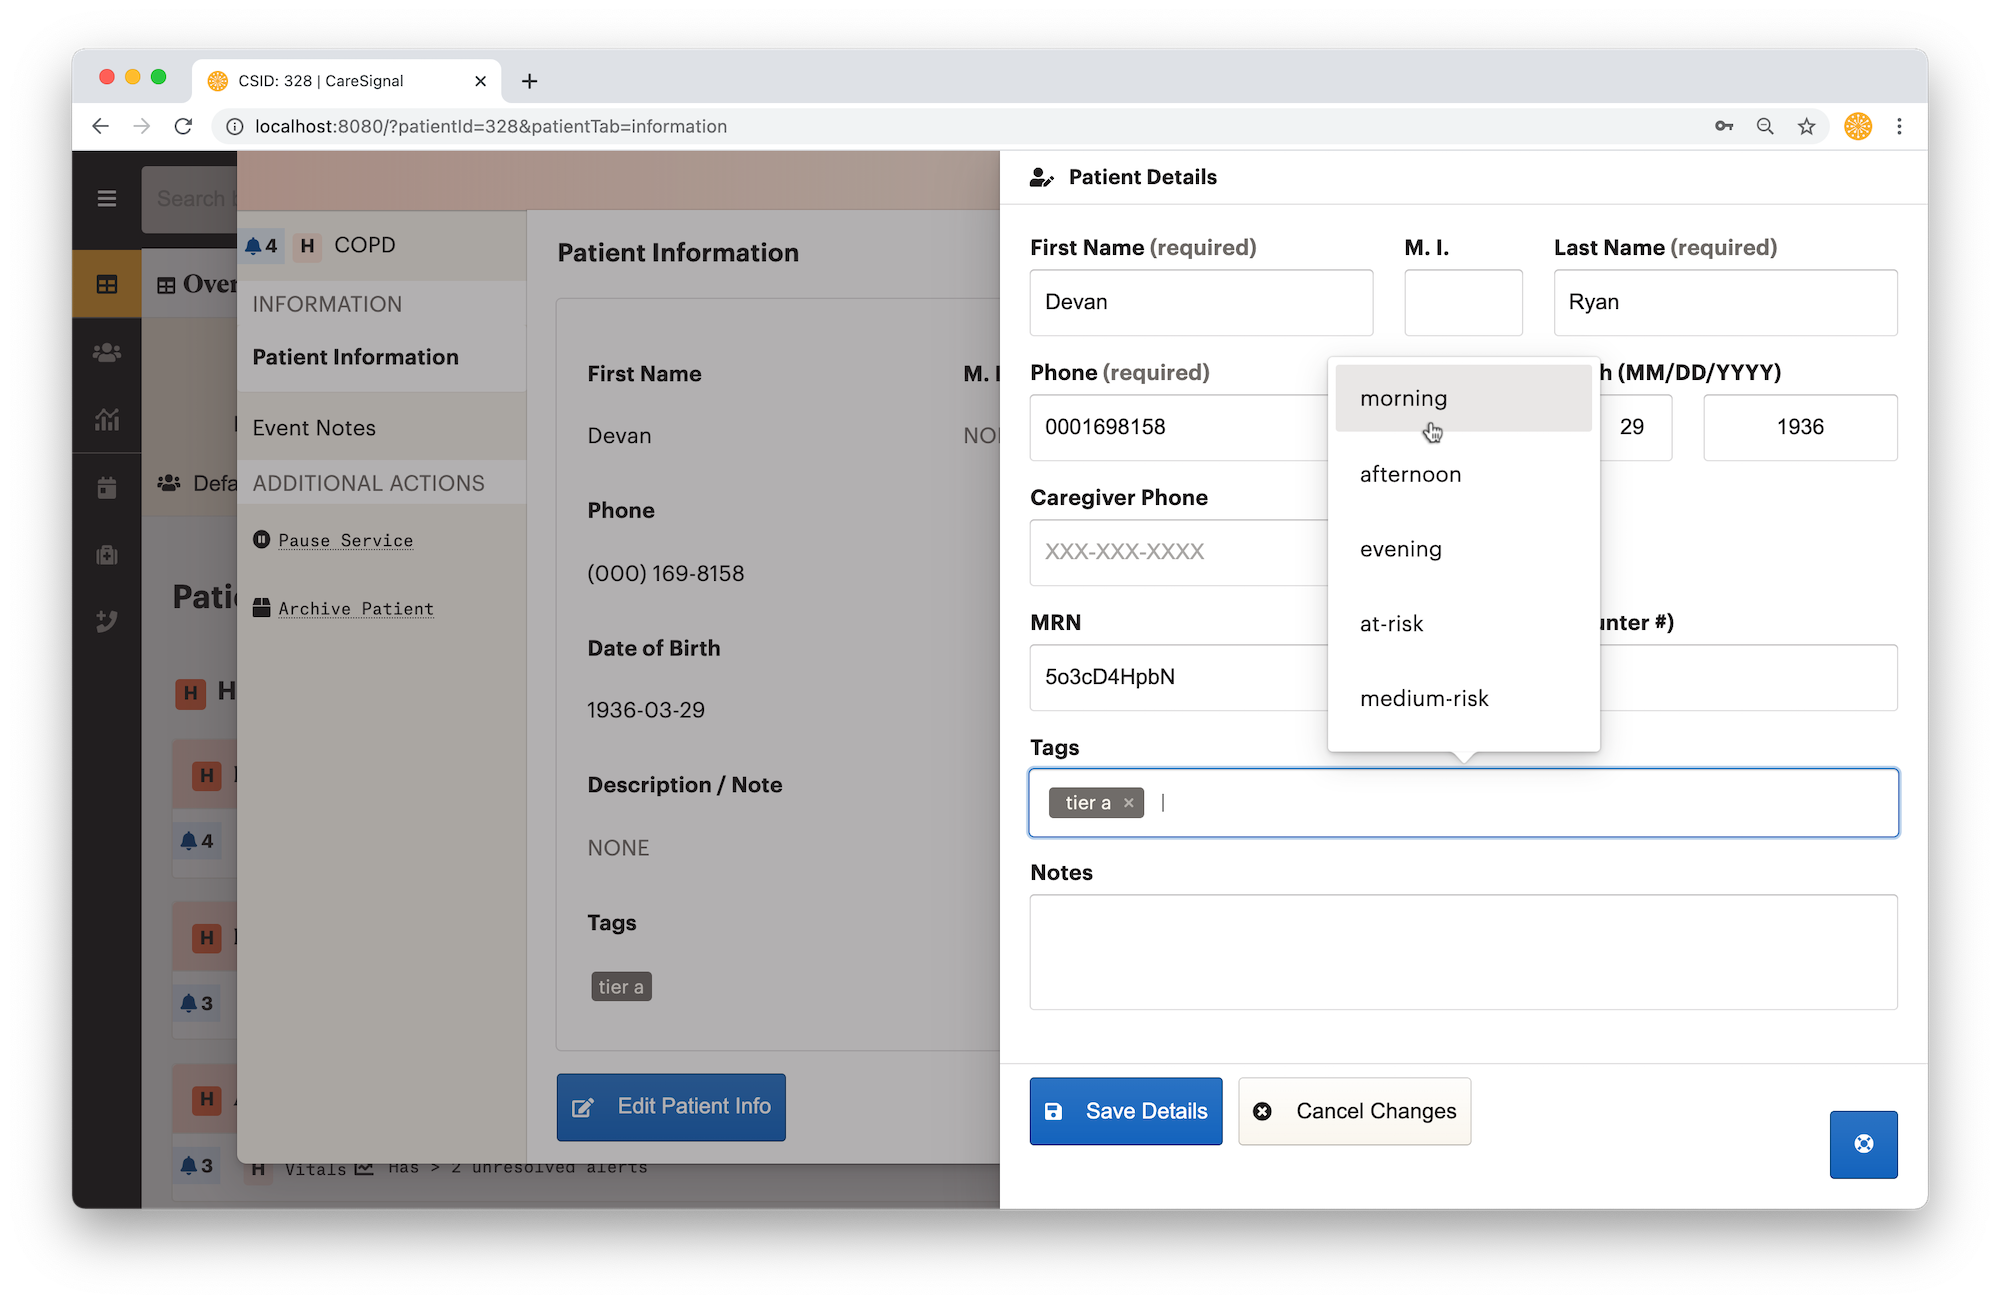
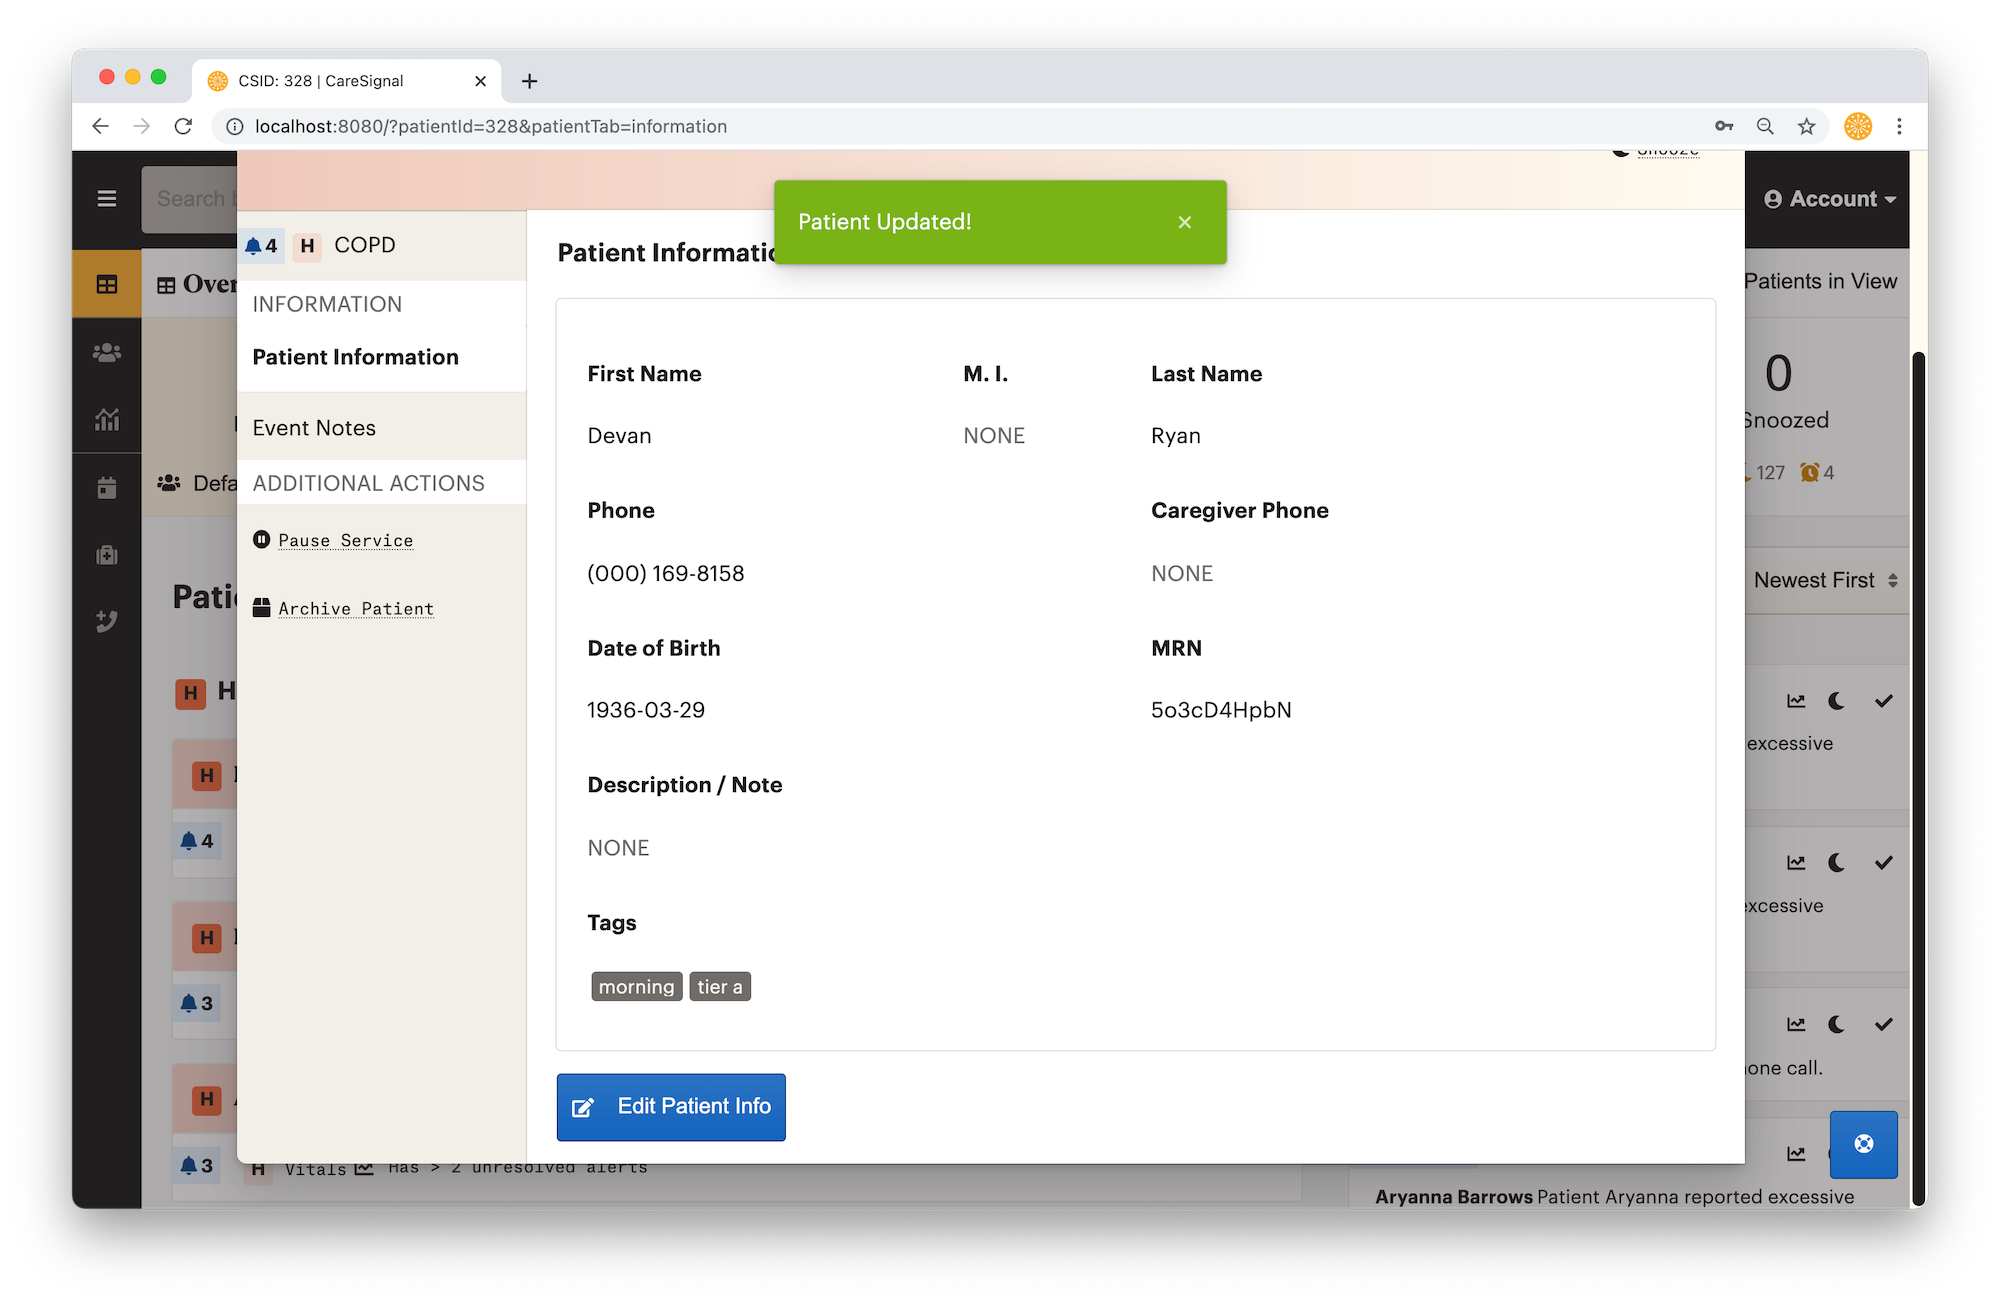
You’ll find a tags field that will let you add or remove tags for the patient. A dropdown will display all of the available tags, or you can start typing to search for a tags. Clicking on a tag name will add it to a patient. Once you’re done, click save.
For New Patients
On the prescription page, you will now see a field named "Tags" on the patient information form on the left. Simply select the tag that is appropriate for the patient and then move onto completing the rest of the prescription process, the tag will be added for the patient.